Home Assistant: Setup Guide
So you’ve decided you want to get started in the world of home automation and are faced with the following choice…
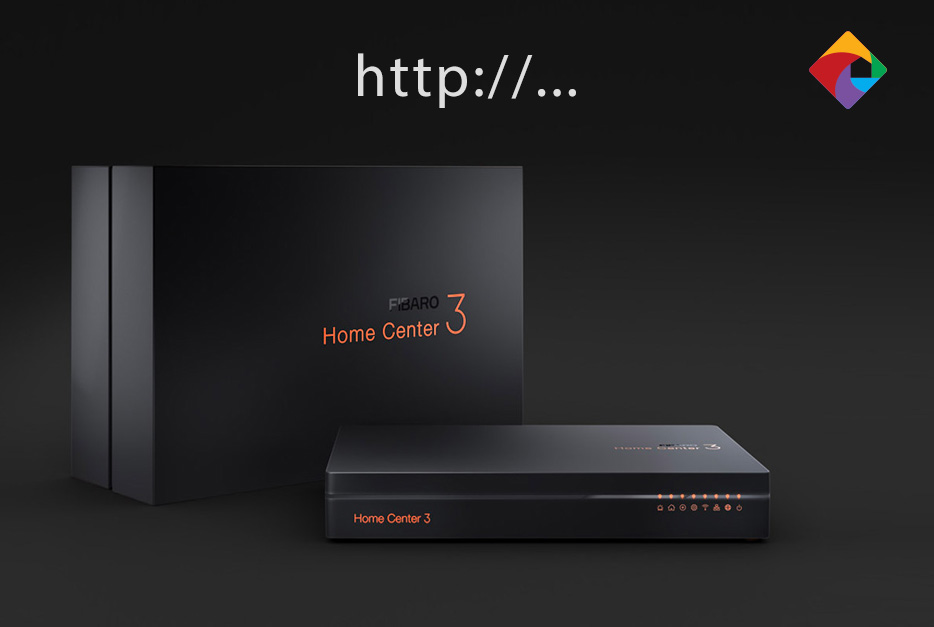
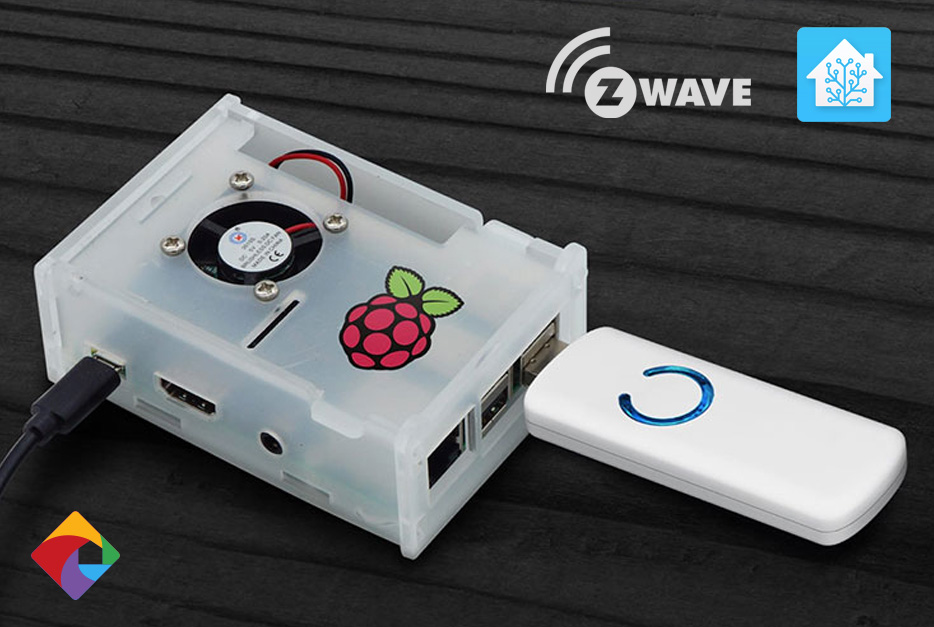
Will the heart of your system be a powerful, plug-and-play controller that works out of the box such as the Fibaro Home Center 3? Or will it come to life with the people focused, open-source/highly-customisable home automation platform Home Assistant?
If you enjoy a hands on experience and desire ultimate control over your system, Home Assistant may be the platform you’re searching for. With a growing community, emphasis on privacy and an extensive array of plugins, you’ll be sure to find everything needed to suit your needs. Home Assistant really is a tinkerers dream. However I must warn you, there will be many 3am Google sessions… it’s not all rainbows and candy – but certainly worth the effort.
Intrigued?
The purpose of this blog is to guide you through the process of setting up your own Home Assistant Hub, from acquiring the parts to landing on your Home Assistant Dashboard for the first time. I’ve kept each step as simple as possible and included reference images alongside other useful information.
Before proceeding, it’s important to mention that even with extensive online resources and documentation, the Home Assistant route is still not a journey for the faint-hearted. A rudimentary understanding of computers, networks and programming is helpful in order to setup and configure Home Assistant.
If you feel you’re up for the challenge, awesome! Let’s get started.
Step 1: Gather the Parts
Begin by acquiring the parts listed below. If you don’t have them handy, you can get everything you need online. A quick shop around and you’ll find the necessities for around $120.
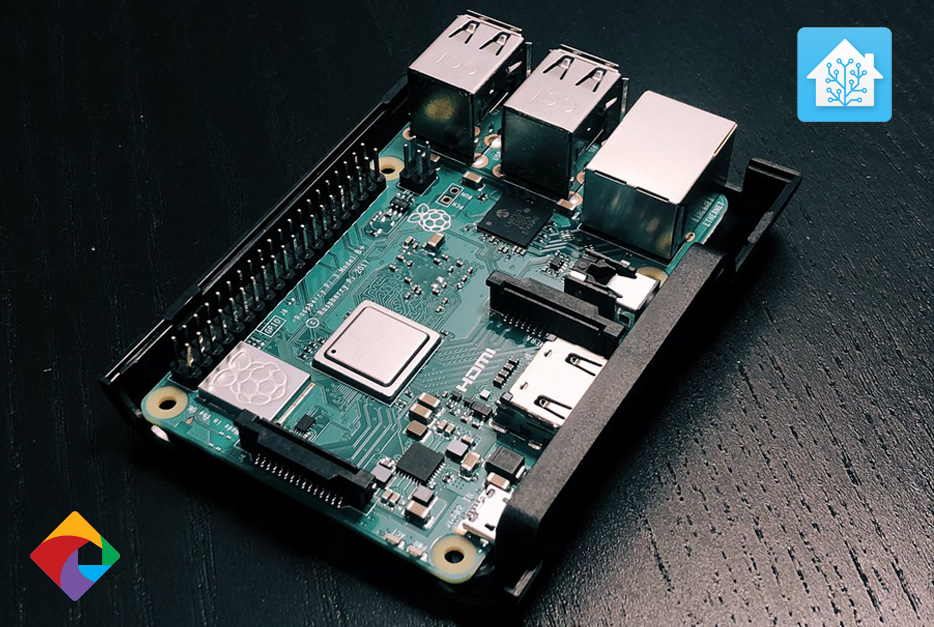
- Raspberry Pi (at least 3 B+)
- Micro SD card. Preferably a Class 10 card with more than 32GB of memory
- SD card reader / writer
- An Ethernet cable (for a wired connection) - or you can use Wi-Fi (although not recommended for initial setup)
- A monitor & HDMI cable (not required but useful for debugging)
- A keyboard (also optional but recommended)
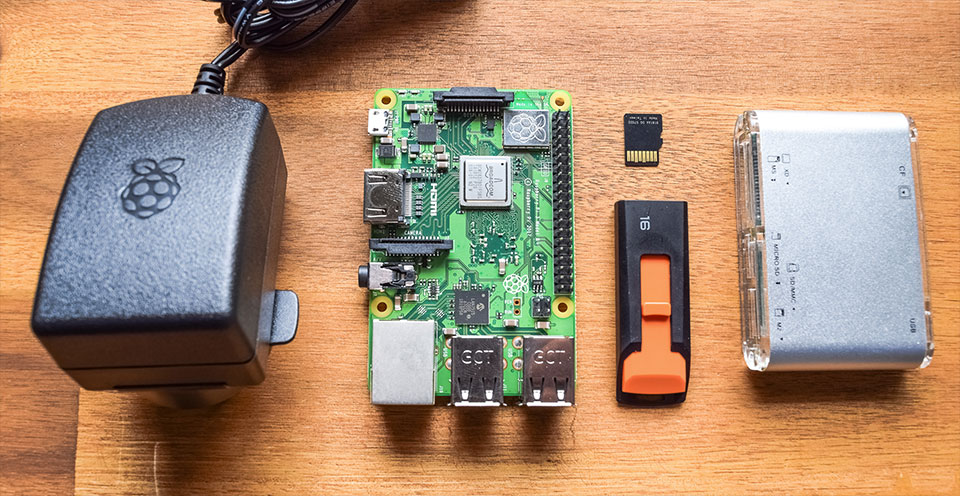
You’ll also need to download and install Etcher and download the Hass.io zip file for the Raspberry Pi 3 B+ (or whichever Pi you are using). Etcher is a tool used to ‘flash’ the SD card, while the Hass.io file contains HassOS, the most powerful Home Assistant Operating System used to turn your Pi into a Home Assistant Hub.
Step 2: Flashing the SD card with the Home Assistant OS
The Raspberry Pi is now ready to begin its transformation from a mini computer (running the Raspbian OS) to a fully-fledged Home Assistant Hub running the HassOS – the Home Assistant Operation System. All we need to do to help it along is ‘flash’ the HassOS image to our SD card (the Pi’s brain).
Let’s do it…
- Insert the SD card in to the card reader and connect it to your computer
- Backup any files you want to keep from the SD card!
- Open Etcher
- Select the hassos_xxxx img file
- Select the SD card
- Hit Flash!
- Have a coffee
- Verify Etcher has successfully flashed the SD card
- You are done - Proceed to Step 3
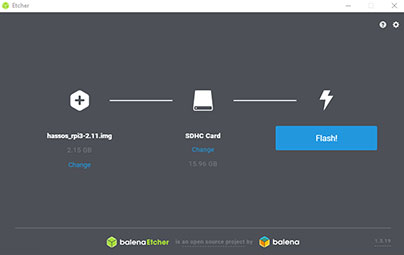
1. Select Hassio Image & SD Card
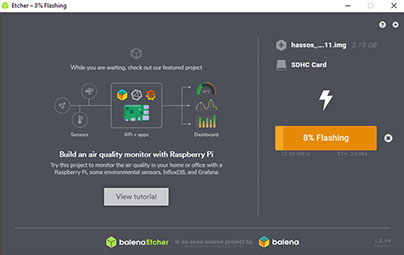
2. Hit Flash
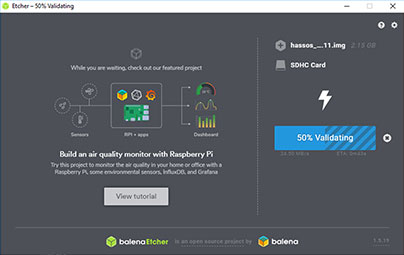
3. Wait...
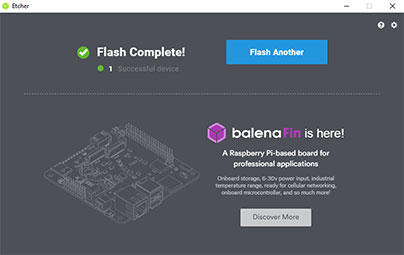
4. Completion -> Proceed to Step 3
Step 3: Configuring Home Assistant's Internet Connection
Home Assistant supports both wired and wireless connections to your home network. For improved stability and a simpler set-up, we recommend connecting your Pi to your home router via an Ethernet cable. However if you’d like to use Wi-Fi that’s OK too. You’ll just have to setup your Pi with the credentials needed to connect to your Wi-Fi network.
Depending on your preference, use either the Wired Setup Procedure or the Wi-Fi Setup Procedure to set-up the Wi-Fi credentials:
Wired Setup (recommended)
- Connect one end of the Ethernet cable to your Wi-Fi routers LAN port
- Connect the other end of the Ethernet cable to your Raspberry Pi's Ethernet port
- Proceed to Step 4
Wi-Fi Setup
Beyond the scope of this blog… here is a nudge in the right direction.
Step 4: From Raspberry Pi to Home Assistant Hub
Armed with your SD card, now flashed with HassOS (and potentially a USB with your Wi-Fi credentials), your Raspberry Pi is ready to undergo its transformation into a Home Assistant Automation Hub.
To begin the Pi’s transformation:
- Set up your Raspberry Pi on a desk.
- Insert your micro SD card into the Raspberry Pi's micro SD card reader. (refer Step 2)
- Ensure you have connected your Ethernet cable or inserted your USB drive into your Raspberry Pi (refer Step 3)
- Connect your Raspberry Pi to power
- Wait 20 or so minutes for HassOS to download and install
- Be sure to check you have a compatible web browser installed. If you don’t, we recommend Google Chrome
- Open your web browser and enter http://hassio.local:8123 in to the address bar.
- If the link in 7. results in the following error message being displayed on screen, follow the below section to troubleshoot
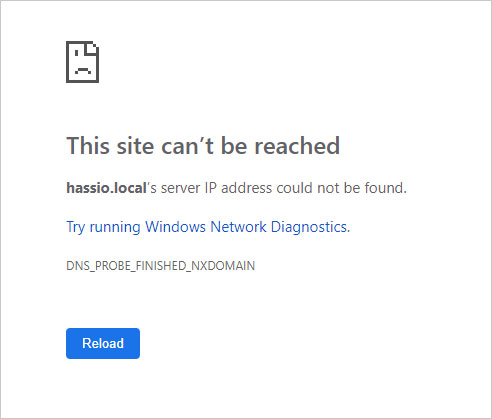
If http://hassio.local:8123/ fails to connect:
The most difficult problem I faced while setting up Home Assistant was failure to connect to the Hub by entering hassio.local:8123 in to my computer’s web-browser. I tried on different computers running different browsers to no avail, before discovering a few potential causes for the issue. If you find yourself in this situation, try the following simple workarounds first to rule out the easiest potential causes first…
- Ensure you are using a compatible web browser
- Clear your browser cache
- Try and connect to http://hassio.local:8123/ in incognito mode (private browsing).
If you are still facing any connection issues, it is likely that your router is not configured to support mDNS. The simplest workaround is to find the IP address of your Home Assistant Hub (pi) and directly connect to that IP address through your browser by searching your IP address in the format http://XXX.XXX.XXX.XXX:8123.
Step 5: Welcome to Home Assistant
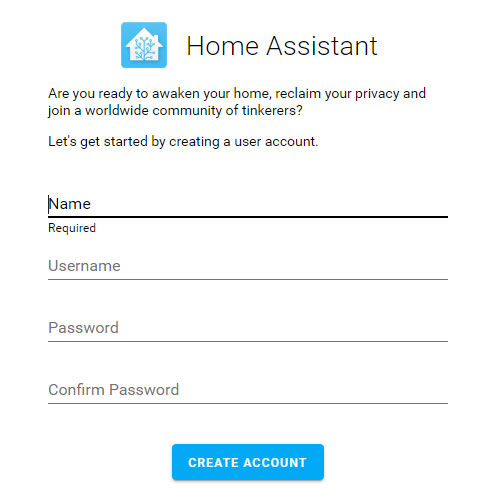
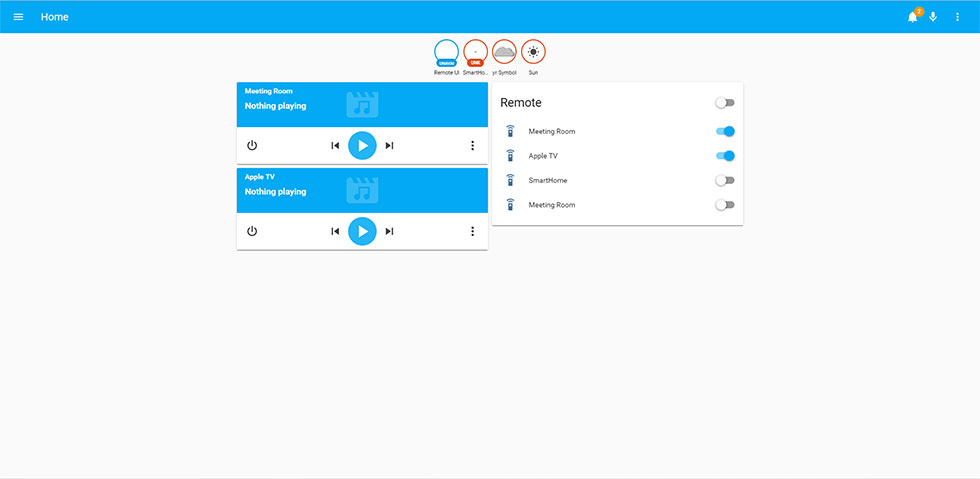
Once your web browser has successfully connected to your Home Assistant Hub, you’ll land on the create account page. Simply enter your desired account details then hit the ‘Create Account’ button.
Gotchas - Troubleshooting & Debugging
Windows does not recognise an SD card once it is flashed by Etcher
DO NOT WORRY!
Insert the micro SD card into the Pi however and you’ll see the card is working correctly. It’s worth mentioning that Etcher will still see the micro SD card when it’s connected to the computer, and you can flash a different image file on to it.
If you’d like to return your SD card to standard format and cannot use a computer to do so, you can always try reformatting it using a digital camera. Here’s the procedure:
- Insert the SD card into a digital camera
- Navigate to the 'format SD card' option
- Format the SD card
- Next time you connect it to a computer, it will appear as normal
That's a wrap
I hope this guide has helped you set-up your Home Assistant hub. In Part 2 you’ll learn how to set-up your Z-Wave automation network and configure your first automation. In the mean time, have a look around and get to know Home Assistant. It’s a cool platform to work with. As always, if you have any questions or thoughts, drop a comment below 🙂
Best regards,
Luke






I found that a standard A1 SD card won’t allow HAOS to flash, I needed an A2 SD card, the HA website tipped me off on this.