How to setup an alarm system using Fibaro Home Center
Not too long ago, my old wired alarm system gave up the ghost. I was left with two choices – replace my wired alarm… or make my alarm system part of my Z-Wave smart home system. I chose the latter, and here’s why…
It made absolutely no sense to me to replace my old wired security motion sensors – I already have Z-Wave motion sensors setup around my home which perform multiple functions (switching lights on/off automatically, taking temperature and humidity readings and more). It made a lot more sense to utilise the Z-Wave motion sensors that I already have – as opposed to having two different motion sensors in the same room (one for Z-Wave and one for security). Also, there are many obvious advantages to my home alarm system being incorporated into my Z-Wave enabled smart home as one cohesive system.
This is a DIY project
You will not need an electrician or security system installer, you can do it yourself – which is great as you will save a lot of money.
It is also not designed to be a traditional back-to-base monitoring alarm – it is rather designed to be a self monitoring alarm, where you receive notifications directly to your mobile (or multiple mobiles if you choose) – this saves you even more money by not having to pay monthly fees (which is a waste of money in my opinion – don’t get me started on that scam!).
With a bit of patience, you will be able to create a very robust security system with the Home Center 2 – and enjoy all of the other benefits Z-Wave offers.

Having just recently done this myself, I thought I would share my experience – I hope it’s helpful to anyone who wants to setup a smart security system.
I had only two objectives when I set out on this project… the first was this new Z-Wave alarm had to be every bit as competent and reliable as my old wired system (or better… if possible).
The second was my new alarm had to be part of my Z-Wave smart home. I think I achieved both goals – in spades – but not without some trial-and-error, missteps and some “out of the box” thinking. Challenging… and loving it!
It will take some time to read this blog and watch the video (it’s a long one), but I promise it will be worth it.
Watch the video
V

Planning and preparation
First it is a good idea to plan out your security system. A little planning can save a lot of time (and money) in the long run – it will also mean you have installed a system that is going to do its job effectively – protecting you and your home.
Having said all of that – I did absolutely 0% planning (hypocrite, I know!). I dove right in – completely blind. Although this is how I usually perform best – dropped in the middle and forced to swim. It’s amazing what you can find on Google at 3am!
To be fair (to myself), I had a very reasonable idea of what I had to do – one of the advantages of working for SmartHome.
At the bare minimum, you will need to plan how many motion sensors are required – and where you are going to place them. Door and Window Sensors are advised, but certainly optional.
Once you have your plan – be sure to “pair” your Z-Wave sensors with your Home Center 2 before physically installing the sensors – this will make life a lot easier and confirm all sensors are working before you distribute them around your home.
Required equipment
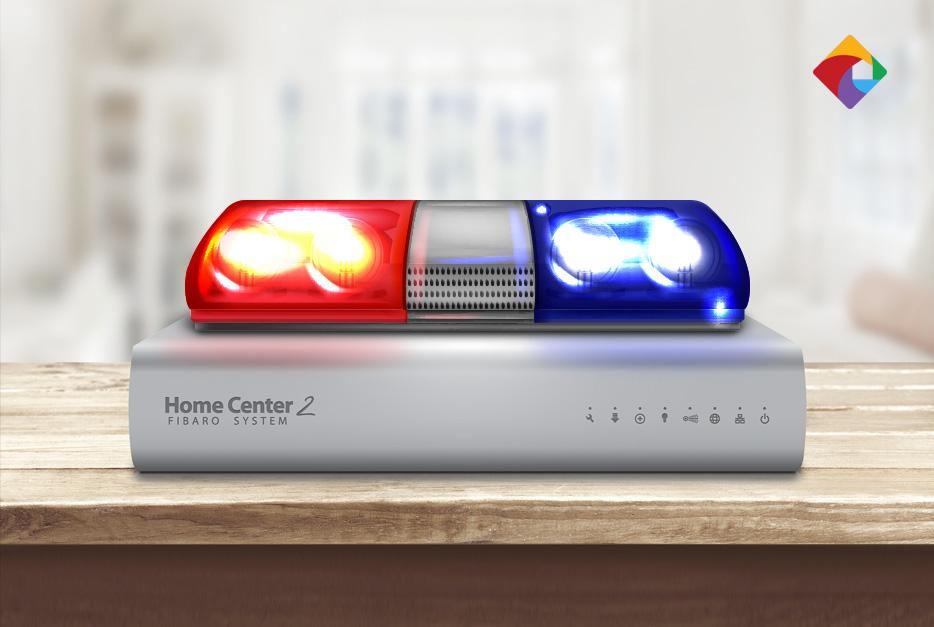
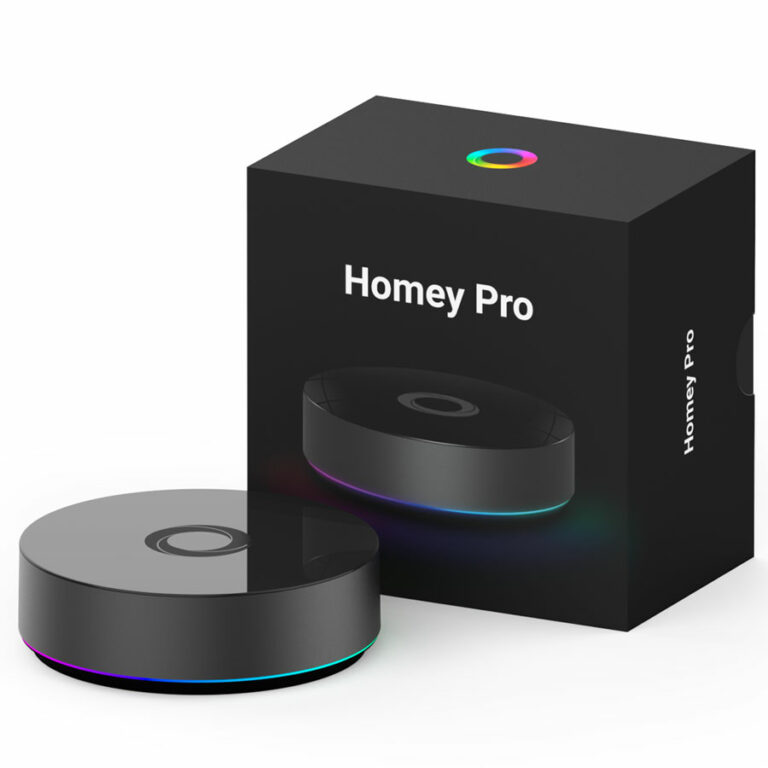
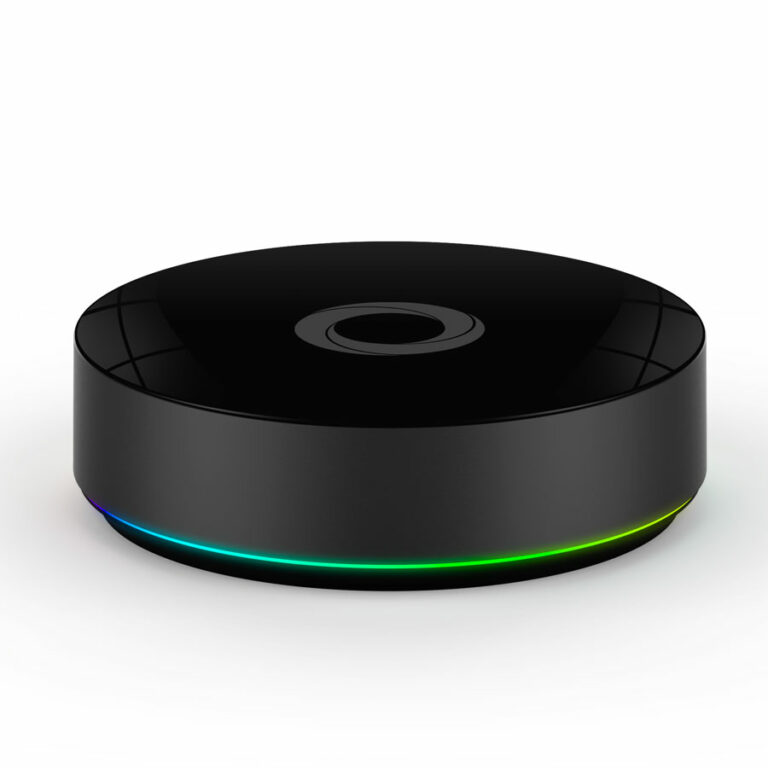
For the “foundations” of my new Z-Wave alarm system, I am using the Fibaro Home Center 2 – currently the best Z-Wave controller available. It is also far more expensive than other Z-Wave hubs, although in my opinion the price difference is more than justified given the performance, features, usability and reliability that Home Center 2 offers (besides, a decent alarm system will set you back far more – and it won’t turn your home into a smart home!).

Fibaro Home Center 2
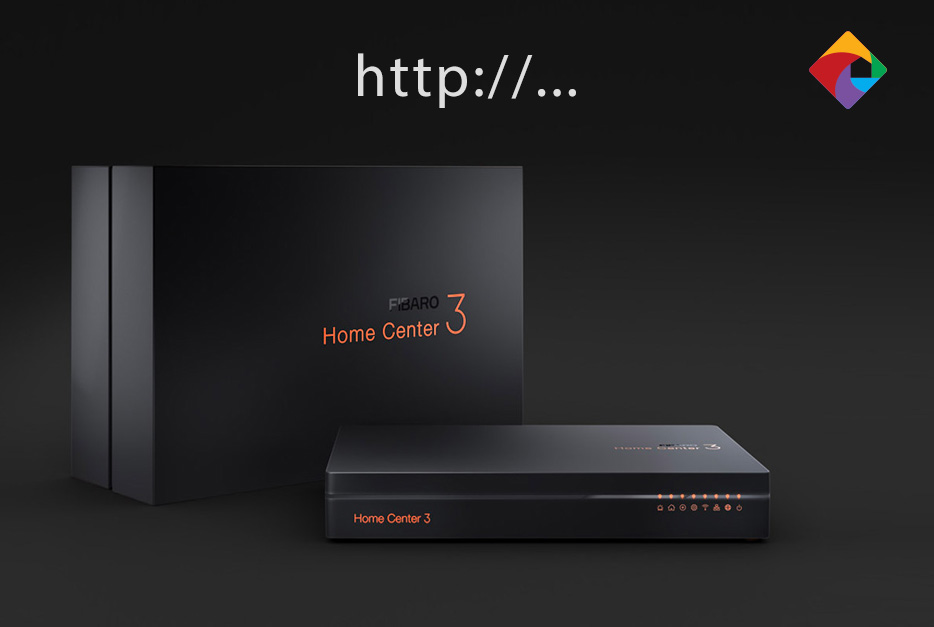
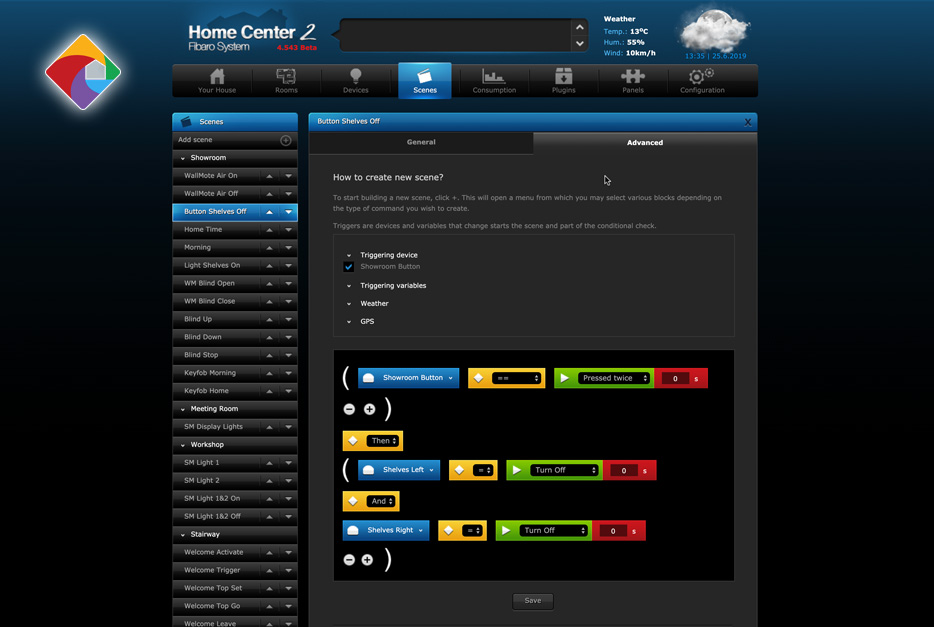
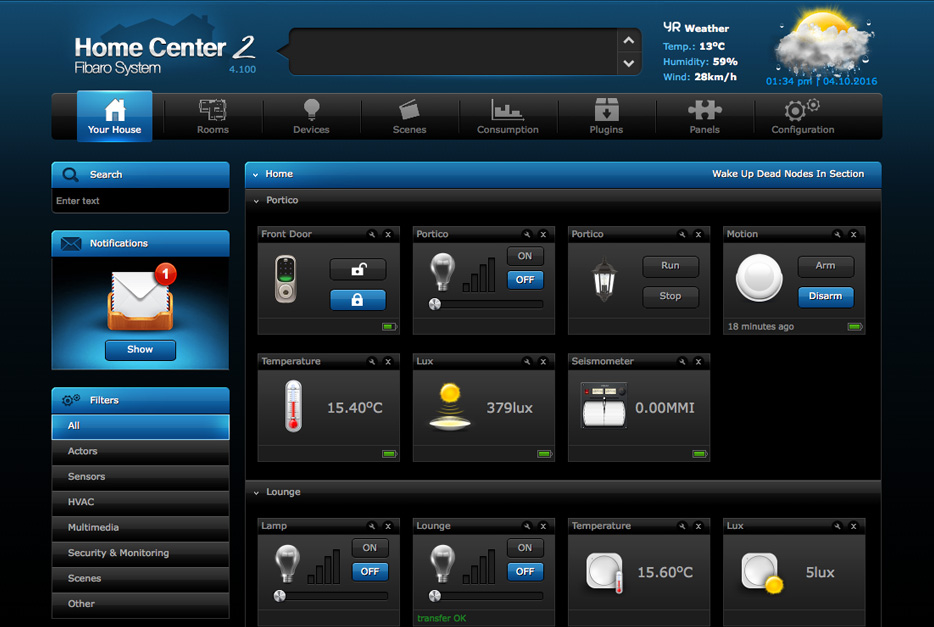
The Fibaro Home Center 2 will be the “brains” of not only your new security system, but also your Z-Wave smart home as well. This device connects to your wireless router and is where you will “configure” your new alarm system.
I strongly recommend getting yourself a cheap UPS (Uninterruptible Power Supply – basically a battery backup device) into which you will plug both your wireless router and Home Center 2 – this will allow the system to keep running even if there is a power outage – which is of course very important for a security system.

Z-Wave Motion Sensors
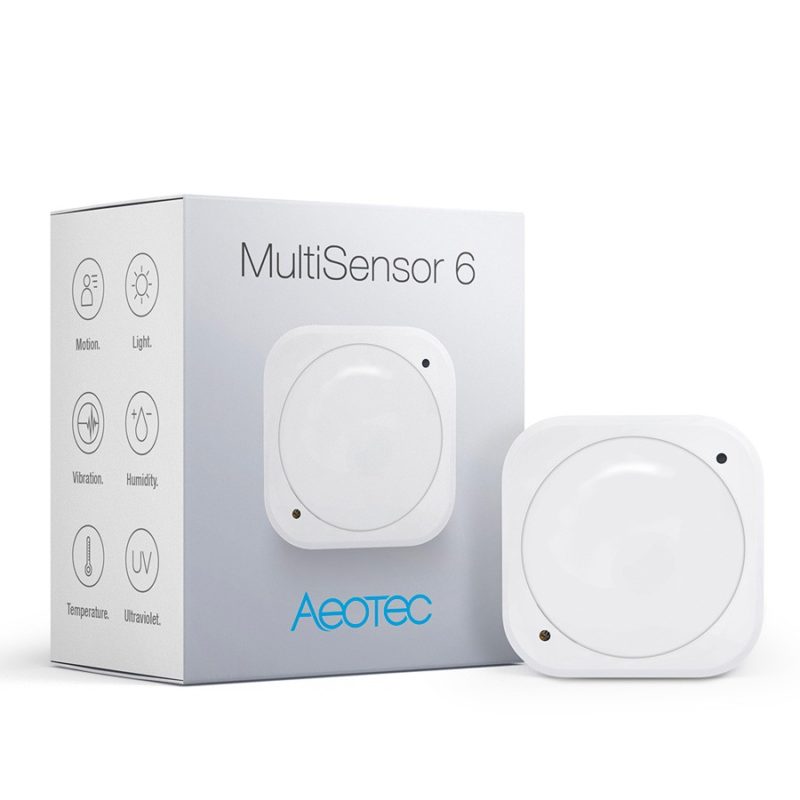
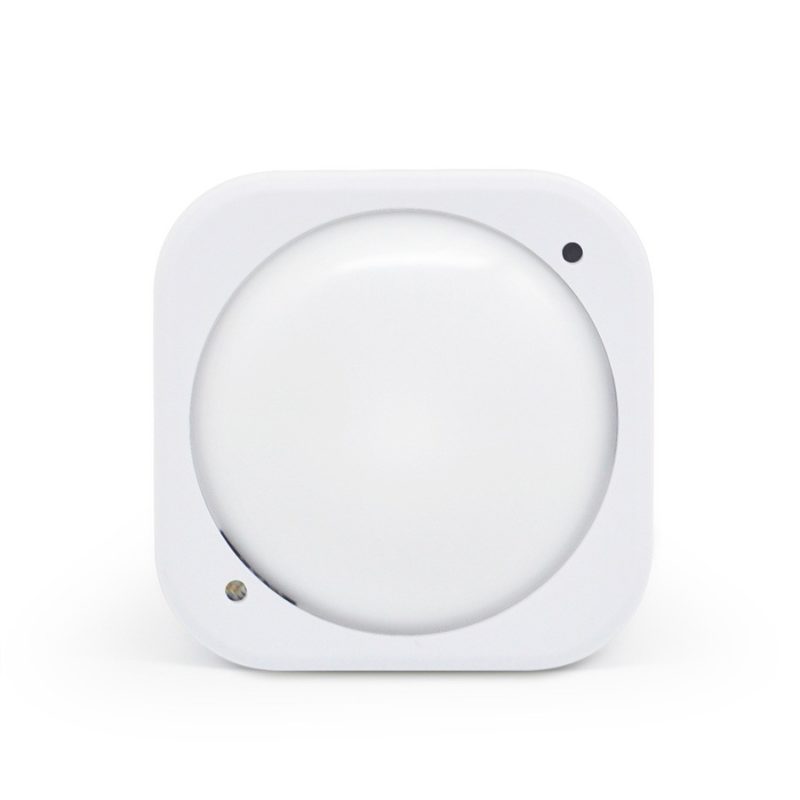
Aeotec Z-Wave MultiSensor 6
The Aeotec Z-Wave MultiSensor 6 can measure motion, humidity, light levels, temperature, vibration and UV all from one very small (and very clever) device. Featuring the latest Z-Wave Gen 5 chipset and firmware – this is the cutting edge of Z-Wave technology.
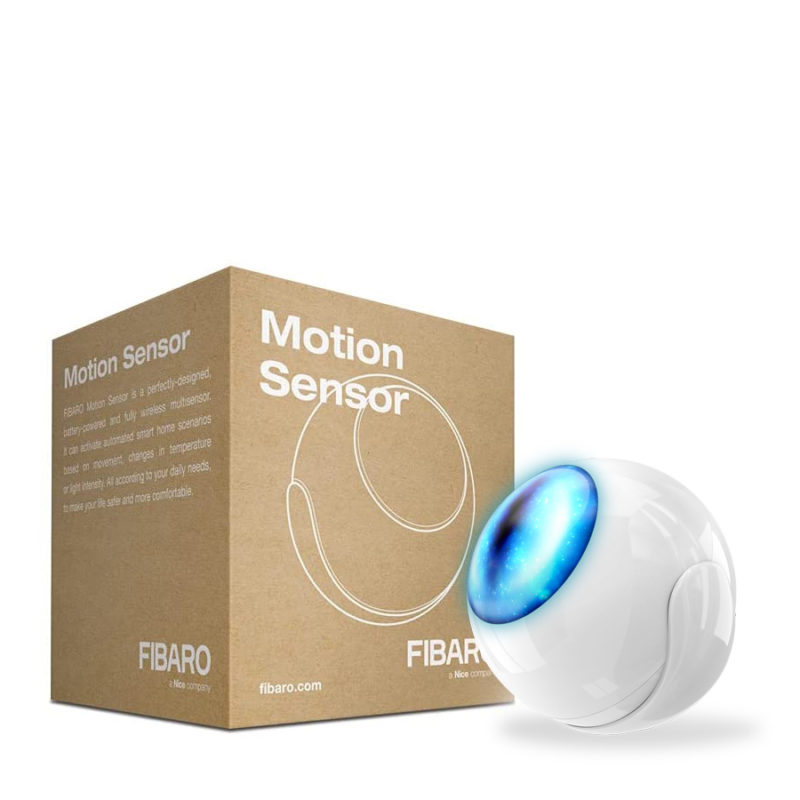
Fibaro Z-Wave Motion Sensor
The Fibaro Motion Sensor is a universal Z-Wave motion, temperature, light and vibration sensor flawlessly crafted into a single multi-sensor around the size of a golf ball. The Fibaro Motion Sensor is a battery powered device that is designed to be installed easily on any surface.

Z-Wave Door / Window Sensors
Z-Wave Door / Window Sensors are completely optional in your security setup – Although they are worth considering as they offer another layer of security by monitoring for the opening (or closing) of doors and windows. One clear advantage of installing these sensors is you can monitor your home’s exterior entry and exit points when you are home.
Whereas you are not likely to “arm” your motion sensors when you are home (otherwise they will trigger your alarm when you move about your home) – with a door / window sensor, you can still trigger an alarm if a door or window is opened – when it shouldn’t be – including when you are sleeping at night. It’s a little known fact that over 25% of burglaries occur whilst someone is home! For this reason, it certainly makes sense to consider using Z-Wave Door / Window sensors to protect your home while you are away… but more importantly, also when you are home.
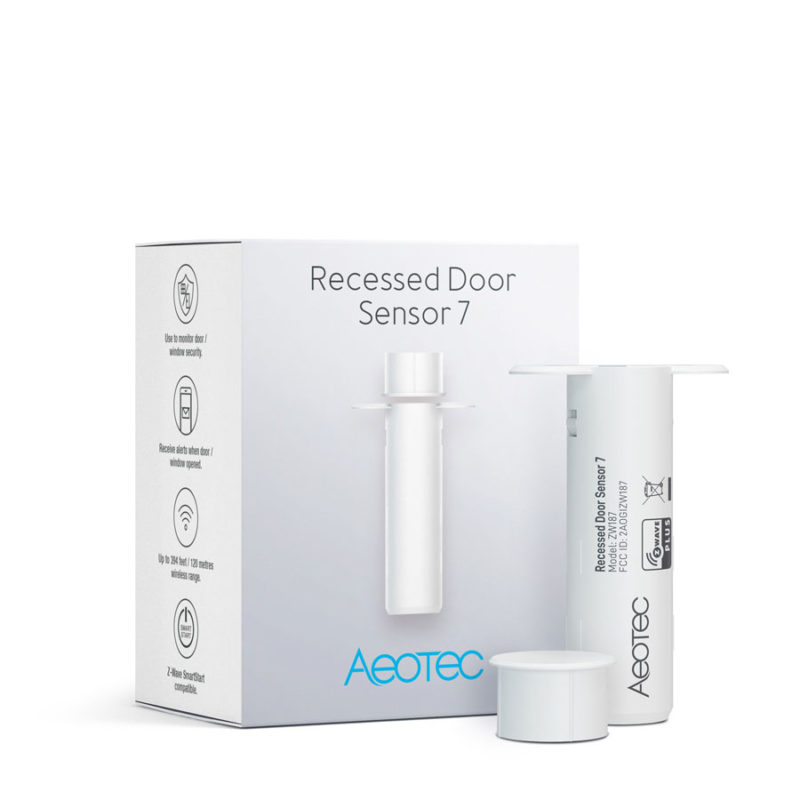
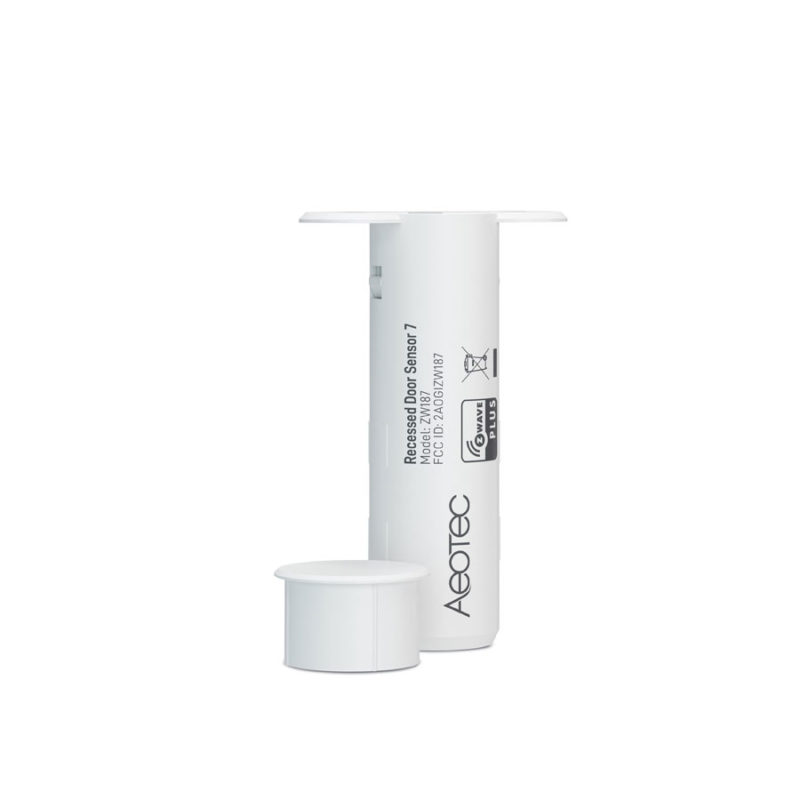
Aeotec Z-Wave Recessed Door Sensor 7
The Aeotec Z-Wave Plus Recessed Door Sensor 7 is a small, wireless Z-Wave (700 Series) device that detects the opening and closing of your doors. Easily installs into your door frame, making the sensor virtually invisible.
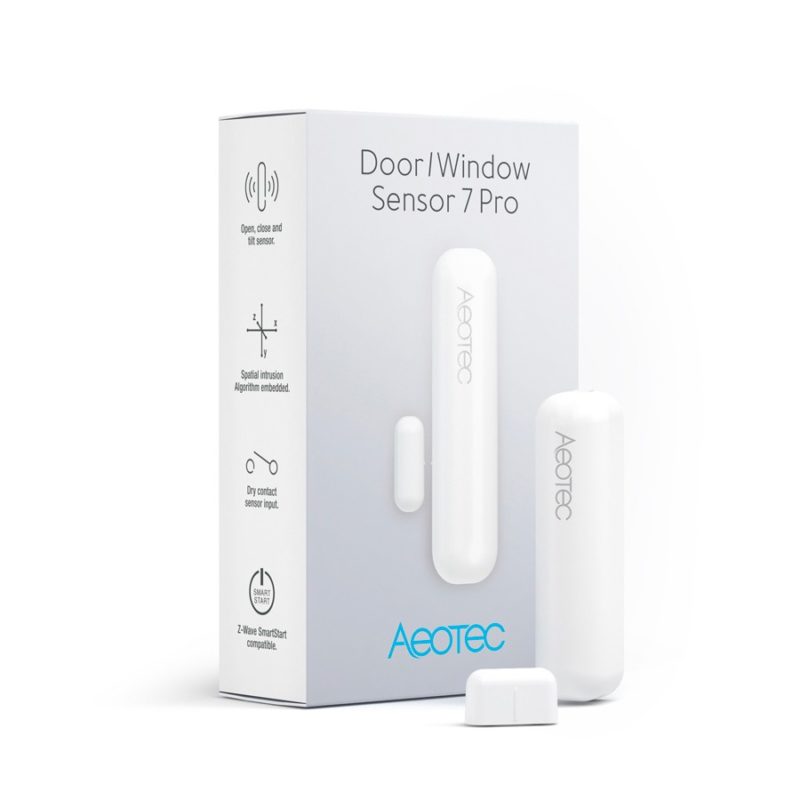
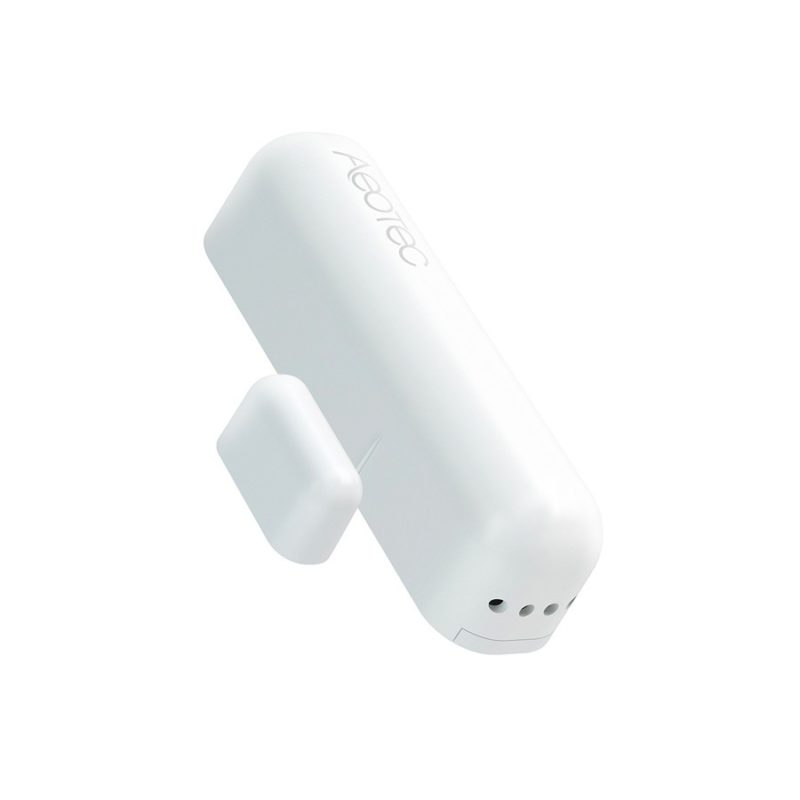
Aeotec Z-Wave Door Window Sensor 7 Pro
$65.00 - $69.00The Aeotec Door/Window Sensor 7 Pro is a Z-Wave Plus (700 Series) device for detecting if a door or window is opened or closed. Small, battery powered (included) and easily attached to virtually anything that opens or closes around your home. Door Window Sensor 7 Pro also includes universal “dry contact” terminals allowing you to wire in other external sensors.
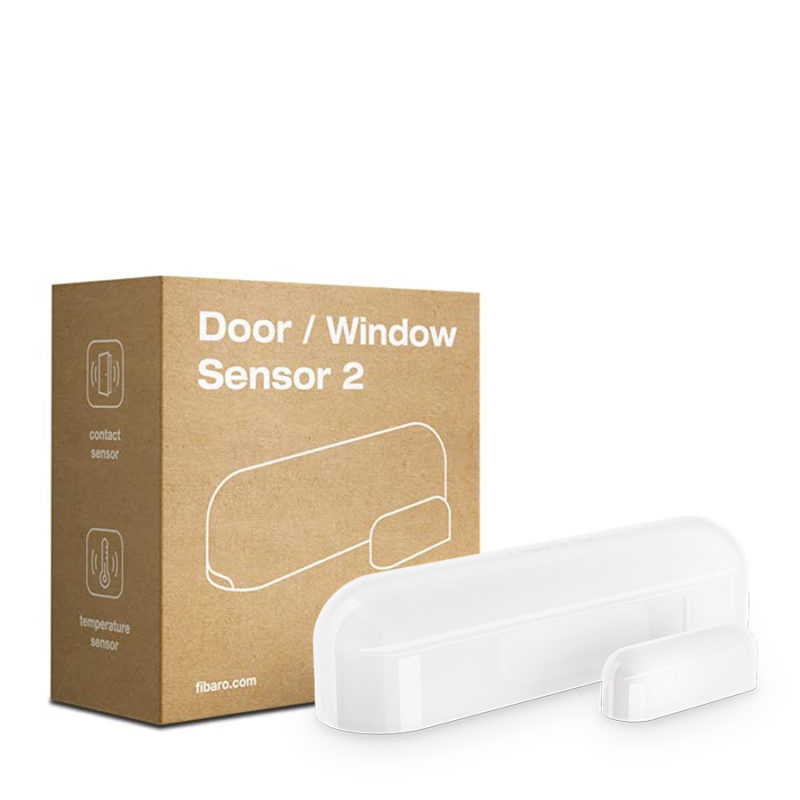
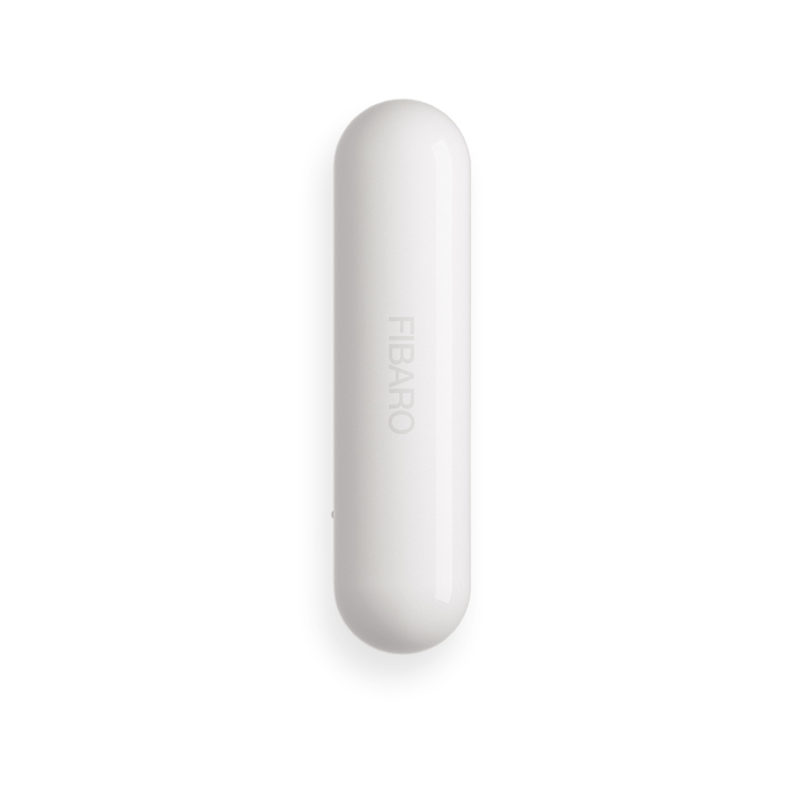
Fibaro Z-Wave Door / Window Sensor 2
Fibaro Door/Window Sensor 2 is a wireless, battery powered, Z-Wave Plus compatible magnetic contact sensor. Opening is detected by separating the sensor’s body and the magnet. Sensor can be used to trigger scenes and wherever there is a need for information about opening or closing of doors, windows, garage doors, etc. In addition, the Fibaro Door/Window Sensor 2 is equipped with a built-in temperature sensor.
Siren and strobe
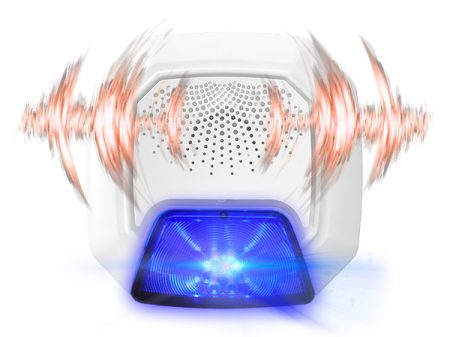
An integral part of your Z-Wave alarm system is a siren and strobe. Would-be intruders don’t like attention, so making as much noise as possible and drawing attention to a potential break-in is crucial. It also offers an excellent visual deterrent when a thief is scoping out your home as a possible target.
Remember, when choosing a mounting location for your external Z-Wave siren, make sure it is installed somewhere prominent – we want people to know you have an alarm installed – and we want it noticed if it is triggered.
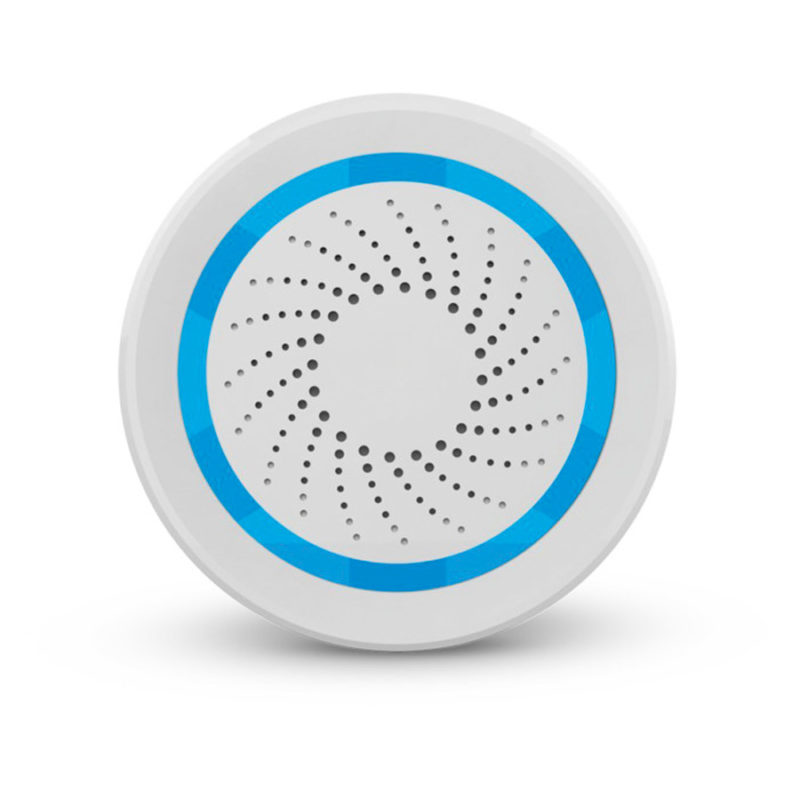
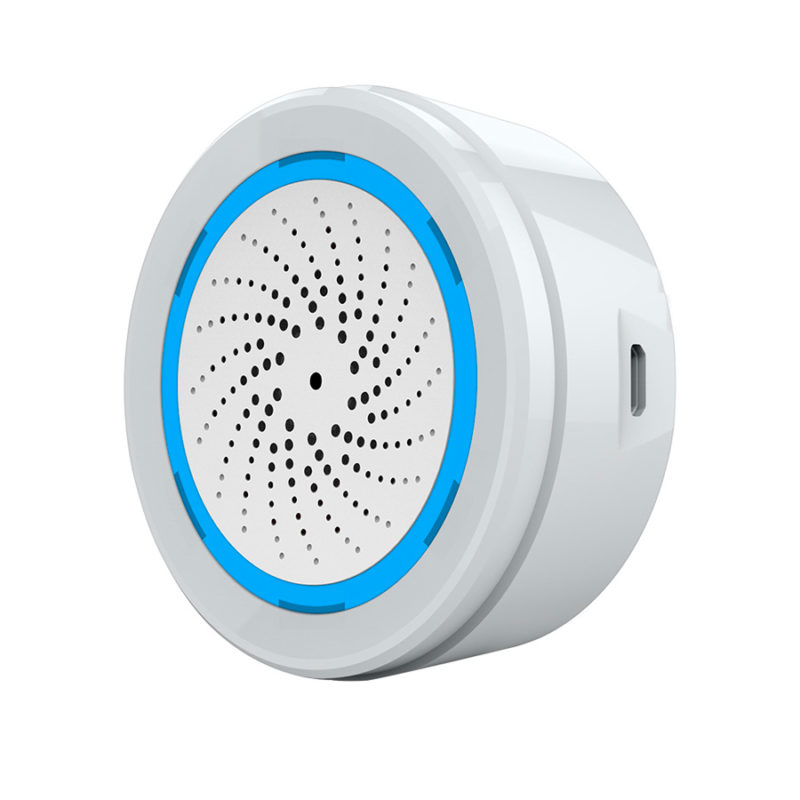
SmartHome Z-Wave Indoor Siren
The SmartHome Z-Wave Indoor Siren offers ten user selectable sounds with three volume levels (up to 100dB) and adjustable siren timeout (30/60/300 seconds or infinite). Once connected to your Z-Wave Gateway Controller, this battery or USB powered Z-Wave Plus device can be used as an alarm siren, doorbell or an audible chime notification when a door / window opens. Additional visual notification is provided by built-in flashing LED’s when triggered.
Vision Z-Wave Outdoor Siren
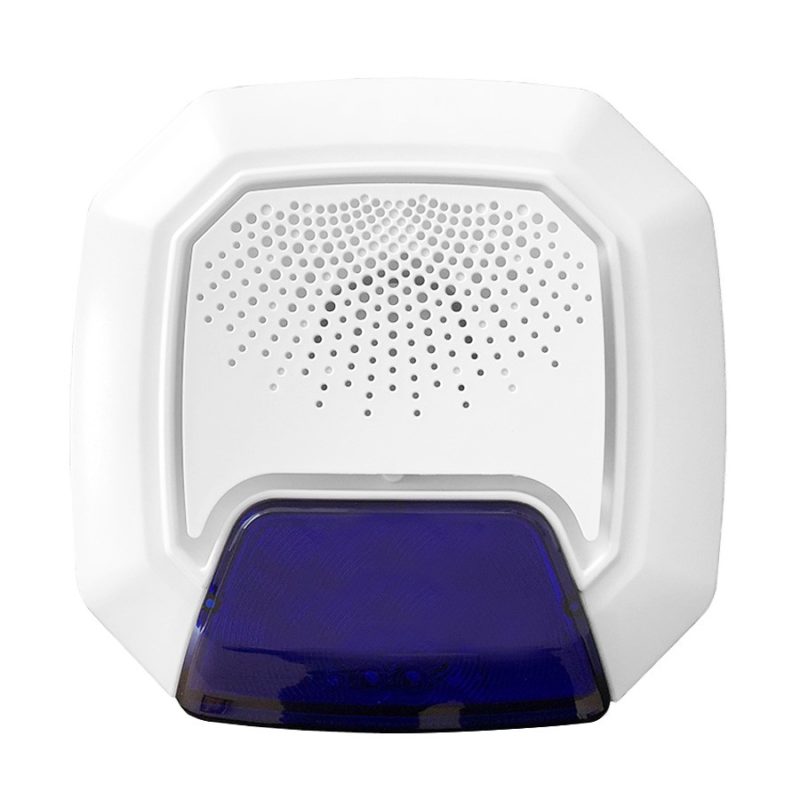
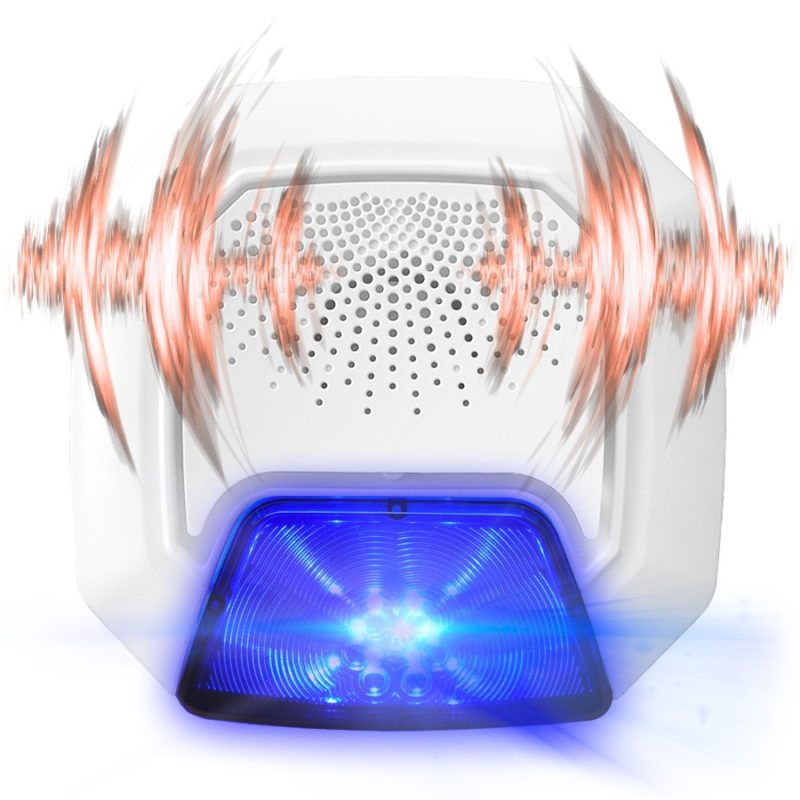
This Vision Z-Wave Outdoor Siren and strobe is a completely wireless Z-Wave Plus device that is compatible with any Z-Wave Gateway Controller. Featuring a loud 115 dB siren and flashing blue strobe. Easy DIY installation and rated IP66 for outdoor use – even in harsh Australian conditions. Battery operated (4 x D batteries included with approx. 2 year battery life), this loud outdoor siren and strobe will be the perfect addition to your Z-Wave smart home security system.
Some final thoughts...
With a bit of planning and well invested time, you will be able to create an excellent alarm system using the Fibaro Home Center 2 and Z-Wave security devices – with the added advantage of having your alarm as part of your Z-Wave enabled smart home. Do not hesitate to contact us if you would like some free advice, support or simply have questions… Remember, we are always happy to help.
All the best,
Brad


